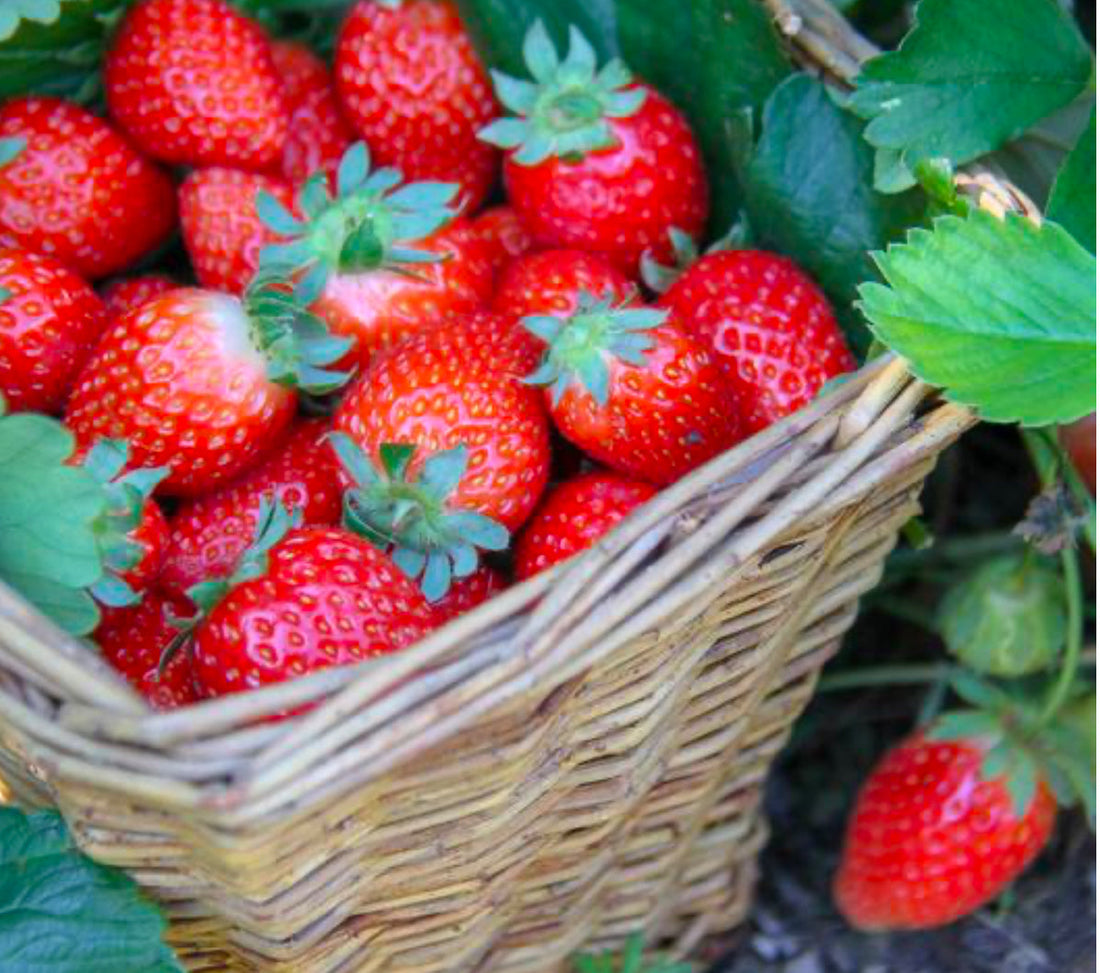
The Beginner’s Guide to Growing Strawberries
Share
Using Bareroots & Pre-Sprouted Potted Plants
There’s nothing quite like a sun-warmed strawberry straight from the garden. Whether you’re starting with a bundle of bareroots or picking up pre-sprouted plants at your local nursery, strawberries are a rewarding and delicious crop to grow.
Types of Strawberry Plants
-
June-bearing: Produce one large crop in early summer. Great for preserving.
-
Ever-bearing: Produce two smaller crops — one in early summer, another in fall.
-
Day-neutral: Produce fruit throughout the growing season in smaller flushes.
Step 1: Choose Your Plant Type
Bareroot Plants
-
Look like dormant crowns with roots.
-
Usually available in early spring (often more affordable in bulk).
-
Need to be planted right away or stored temporarily in a cool, dark spot with damp roots.
Pre-Sprouted Potted Plants
-
Already growing with green leaves.
-
Great for late spring or even early summer planting.
-
More expensive, but offer instant garden satisfaction and easier success for beginners.
Step 2: Pick a Planting Site
-
Full sun (6–8+ hours daily).
-
Well-drained soil rich in organic matter.
-
Avoid areas where peppers, tomatoes, or eggplants have been grown recently (disease risk).
-
Raised beds or mounded rows work great for drainage.
Step 3: Prepare the Soil
-
Loosen soil 6–8 inches deep.
-
Mix in compost or well-rotted manure.
-
pH should be 5.5 to 6.8.
-
Consider covering beds with straw mulch or black landscape fabric to keep weeds down and berries clean.
Step 4: Planting Your Strawberries
Bareroot Plants
-
Soak roots in water for 15–30 minutes before planting.
-
Dig a hole wide enough to spread out the roots.
-
Plant with the crown at soil level — too deep and it may rot; too high and it may dry out.
-
Space plants 12–18 inches apart, rows 2–3 feet apart.
-
Water well after planting.
Pre-Sprouted Potted Plants
-
Gently remove from pot and loosen roots if pot-bound.
-
Dig a hole just deep enough for the root ball.
-
Plant at the same soil level as the crown.
-
Water thoroughly.
Step 5: Care & Maintenance
-
Watering: Keep soil consistently moist but not soggy, especially during fruiting.
-
Mulch: Straw, pine needles, or landscape fabric help retain moisture and deter weeds.
-
Fertilize: Use a balanced organic fertilizer at planting and mid-season (skip if plants are fruiting).
-
Pinch flowers (for bareroots in the first season) to help establish strong roots and runners.
Step 6: Ongoing Care
-
Remove runners if you want to focus on fewer, larger berries.
-
Or allow runners to root if you're creating a matted row.
-
Protect ripening berries from birds with netting if needed.
Step 7: Winter Prep
-
In cold climates, apply straw mulch over plants after the ground freezes to protect crowns.
-
Remove mulch in early spring once new growth appears.
Harvest Tips
-
Pick berries when fully red for best flavor.
-
Harvest in the morning when berries are cool.
-
Don’t pull — pinch or cut the stem.
Bonus: Container Growing
-
Great for small spaces.
-
Use pots at least 12” deep.
-
Ensure good drainage and use high-quality potting mix.
Quick Start Checklist
-
Choose variety & plant type
-
Prep soil & location
-
Plant with crown at soil level
-
Mulch, water, and feed as needed
-
Pinch flowers on new bareroots
-
Harvest & enjoy!
